Build a worm bin
Materials
5-10 red winglers worms
2 containers (like old yogurt pots)
Some cardboard
A rock (or bottle cap)
Dirt
Food scraps
Instructions
Step 1: Poke holes in the bottom of one container.
Step 2: Add some dirt to the container.
Step 3: Add food scraps (like tiny bits of banana peel) and water to the dirt. Moisten the dirt but don't soak it.
Step 4: Put a rock at the bottom of the other container.
Step 5: Place the container with the dirt inside the other.
Step 6: Add your red wiglers worms to the dirt!
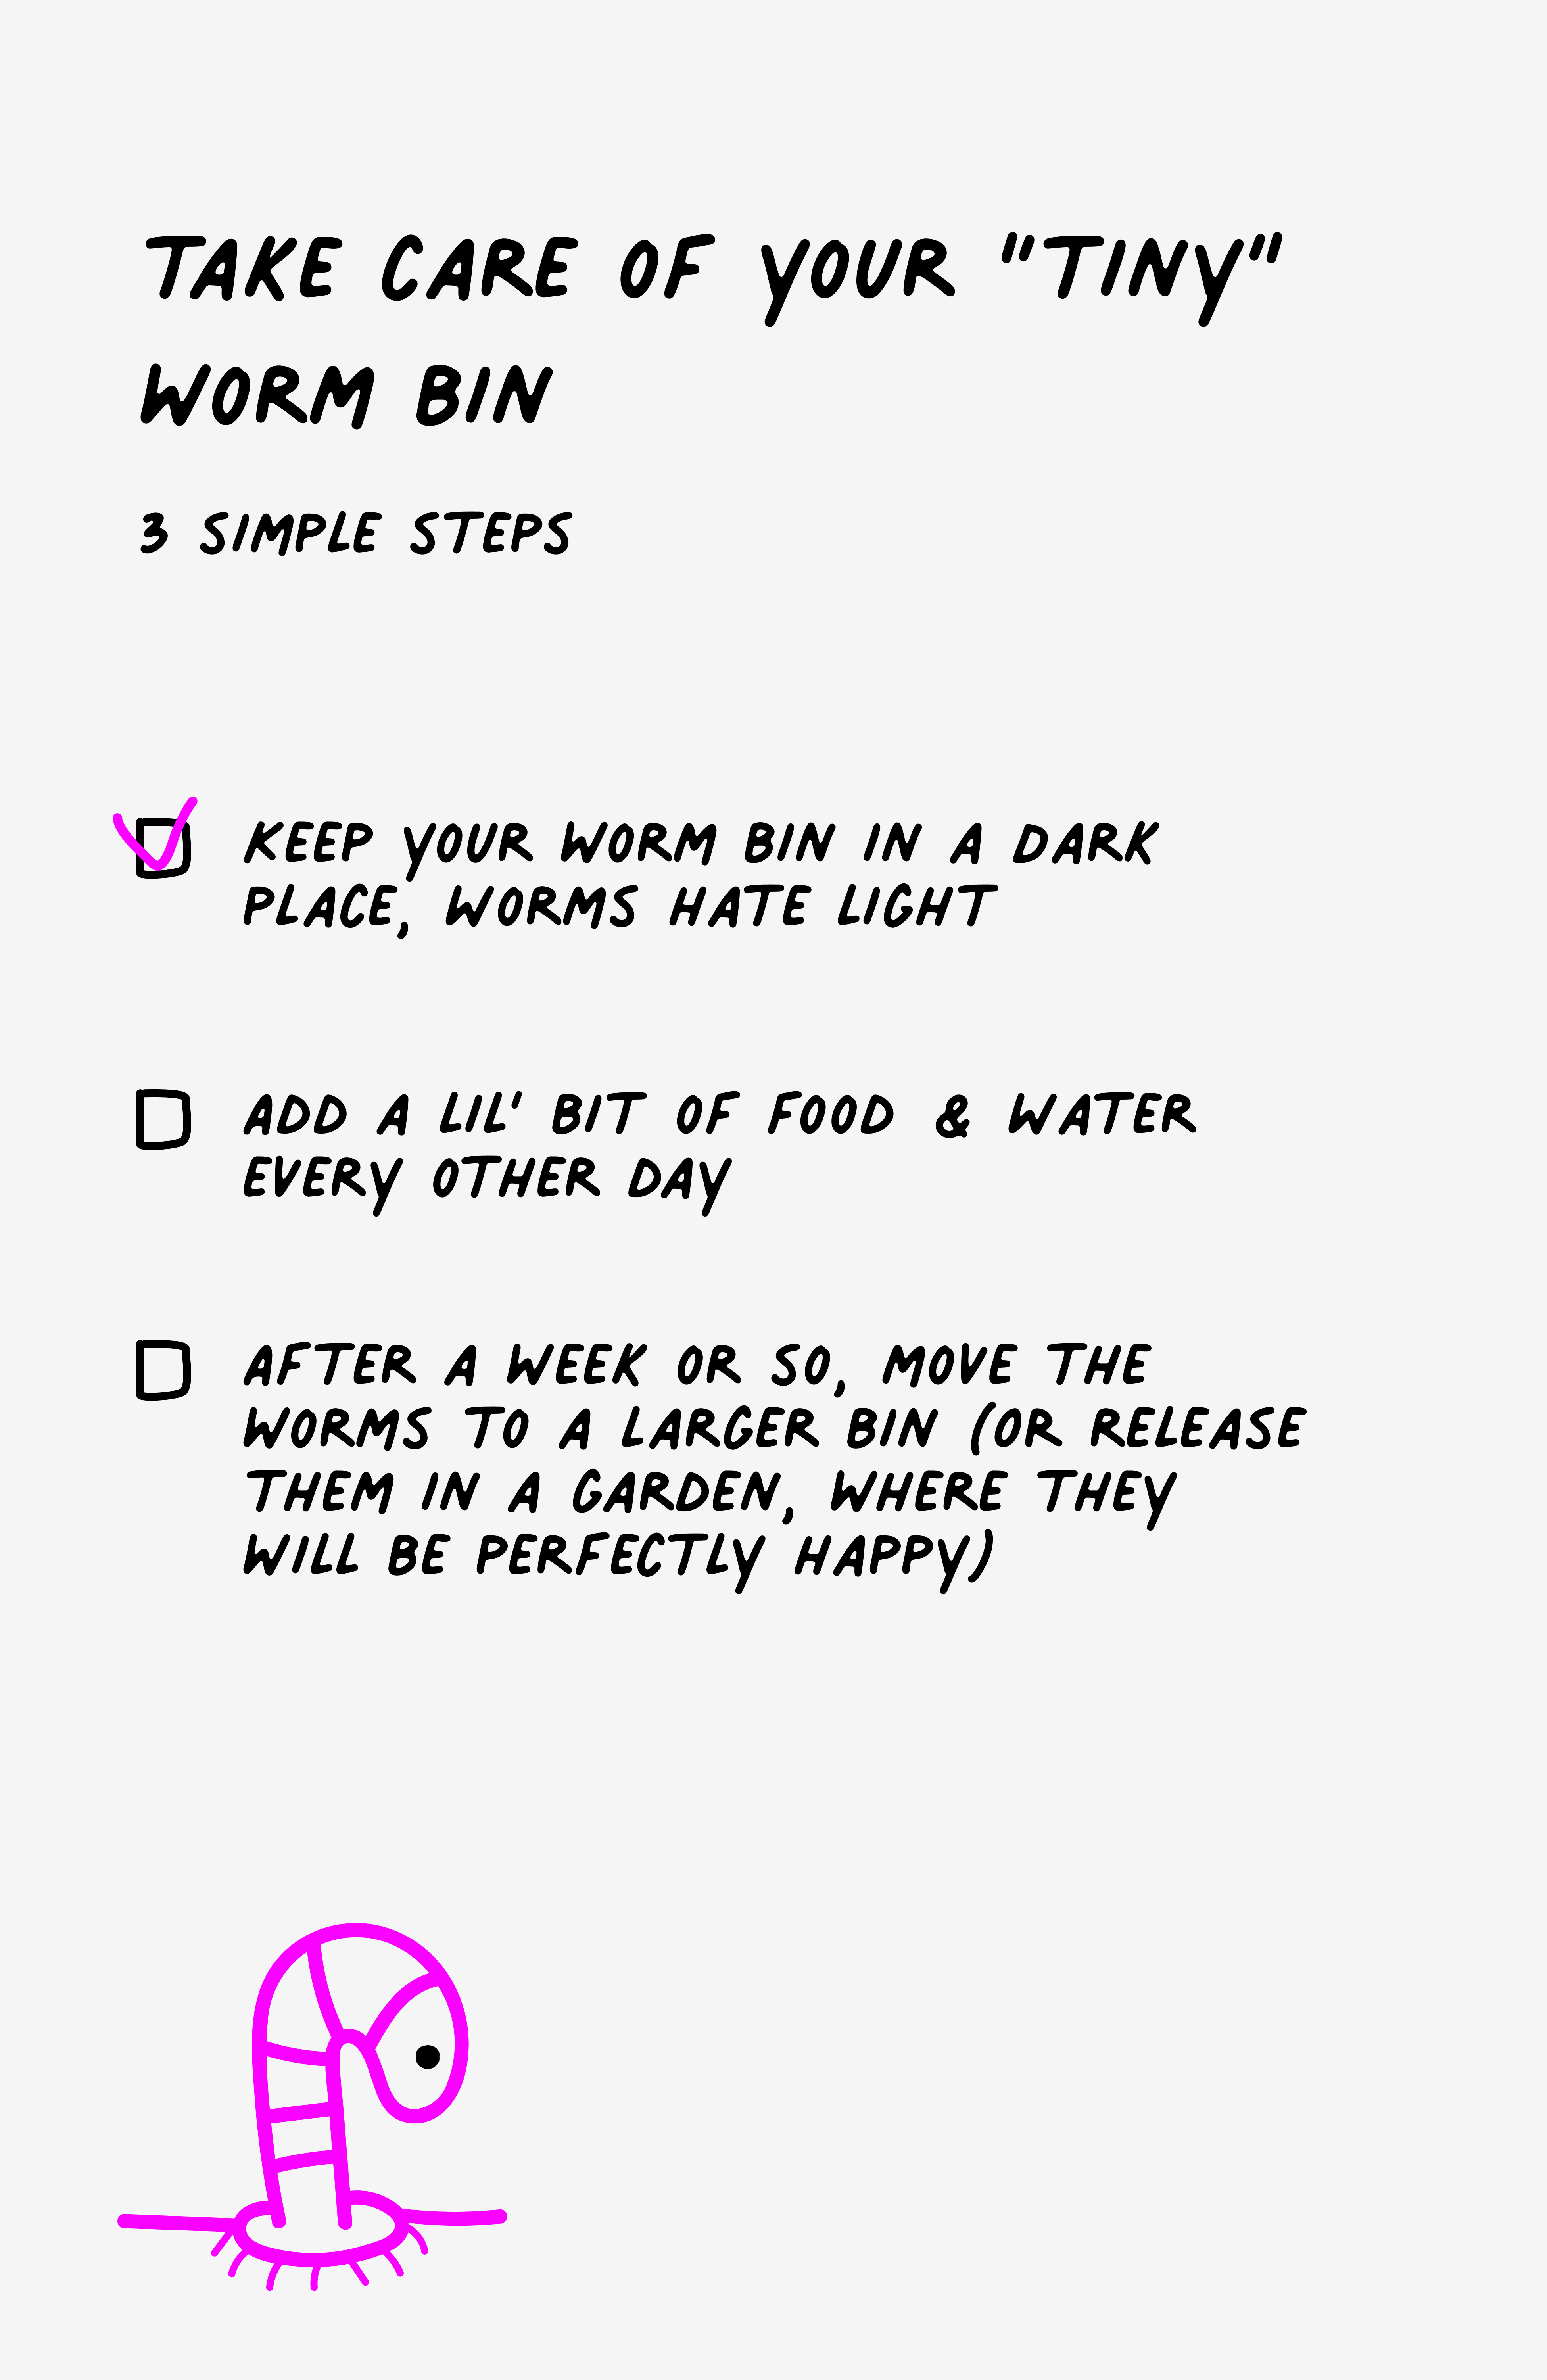
Step 7: Close your worm bin with a carboard lid and keep in a dark place. Worms hate light.
References
Article: Mini Worm-Composting Bins: A great project for kids
"This project creates tiny worm bins. Think of them as starter vermicompost bins, good for about a week or so before you have to move the worms into a larger bin built on the same principles. Or, you could just release the worms into your garden, where they will be perfectly happy."